Get $500 of Rivian credit! Use code RYAN4190772 when ordering your new Rivian.
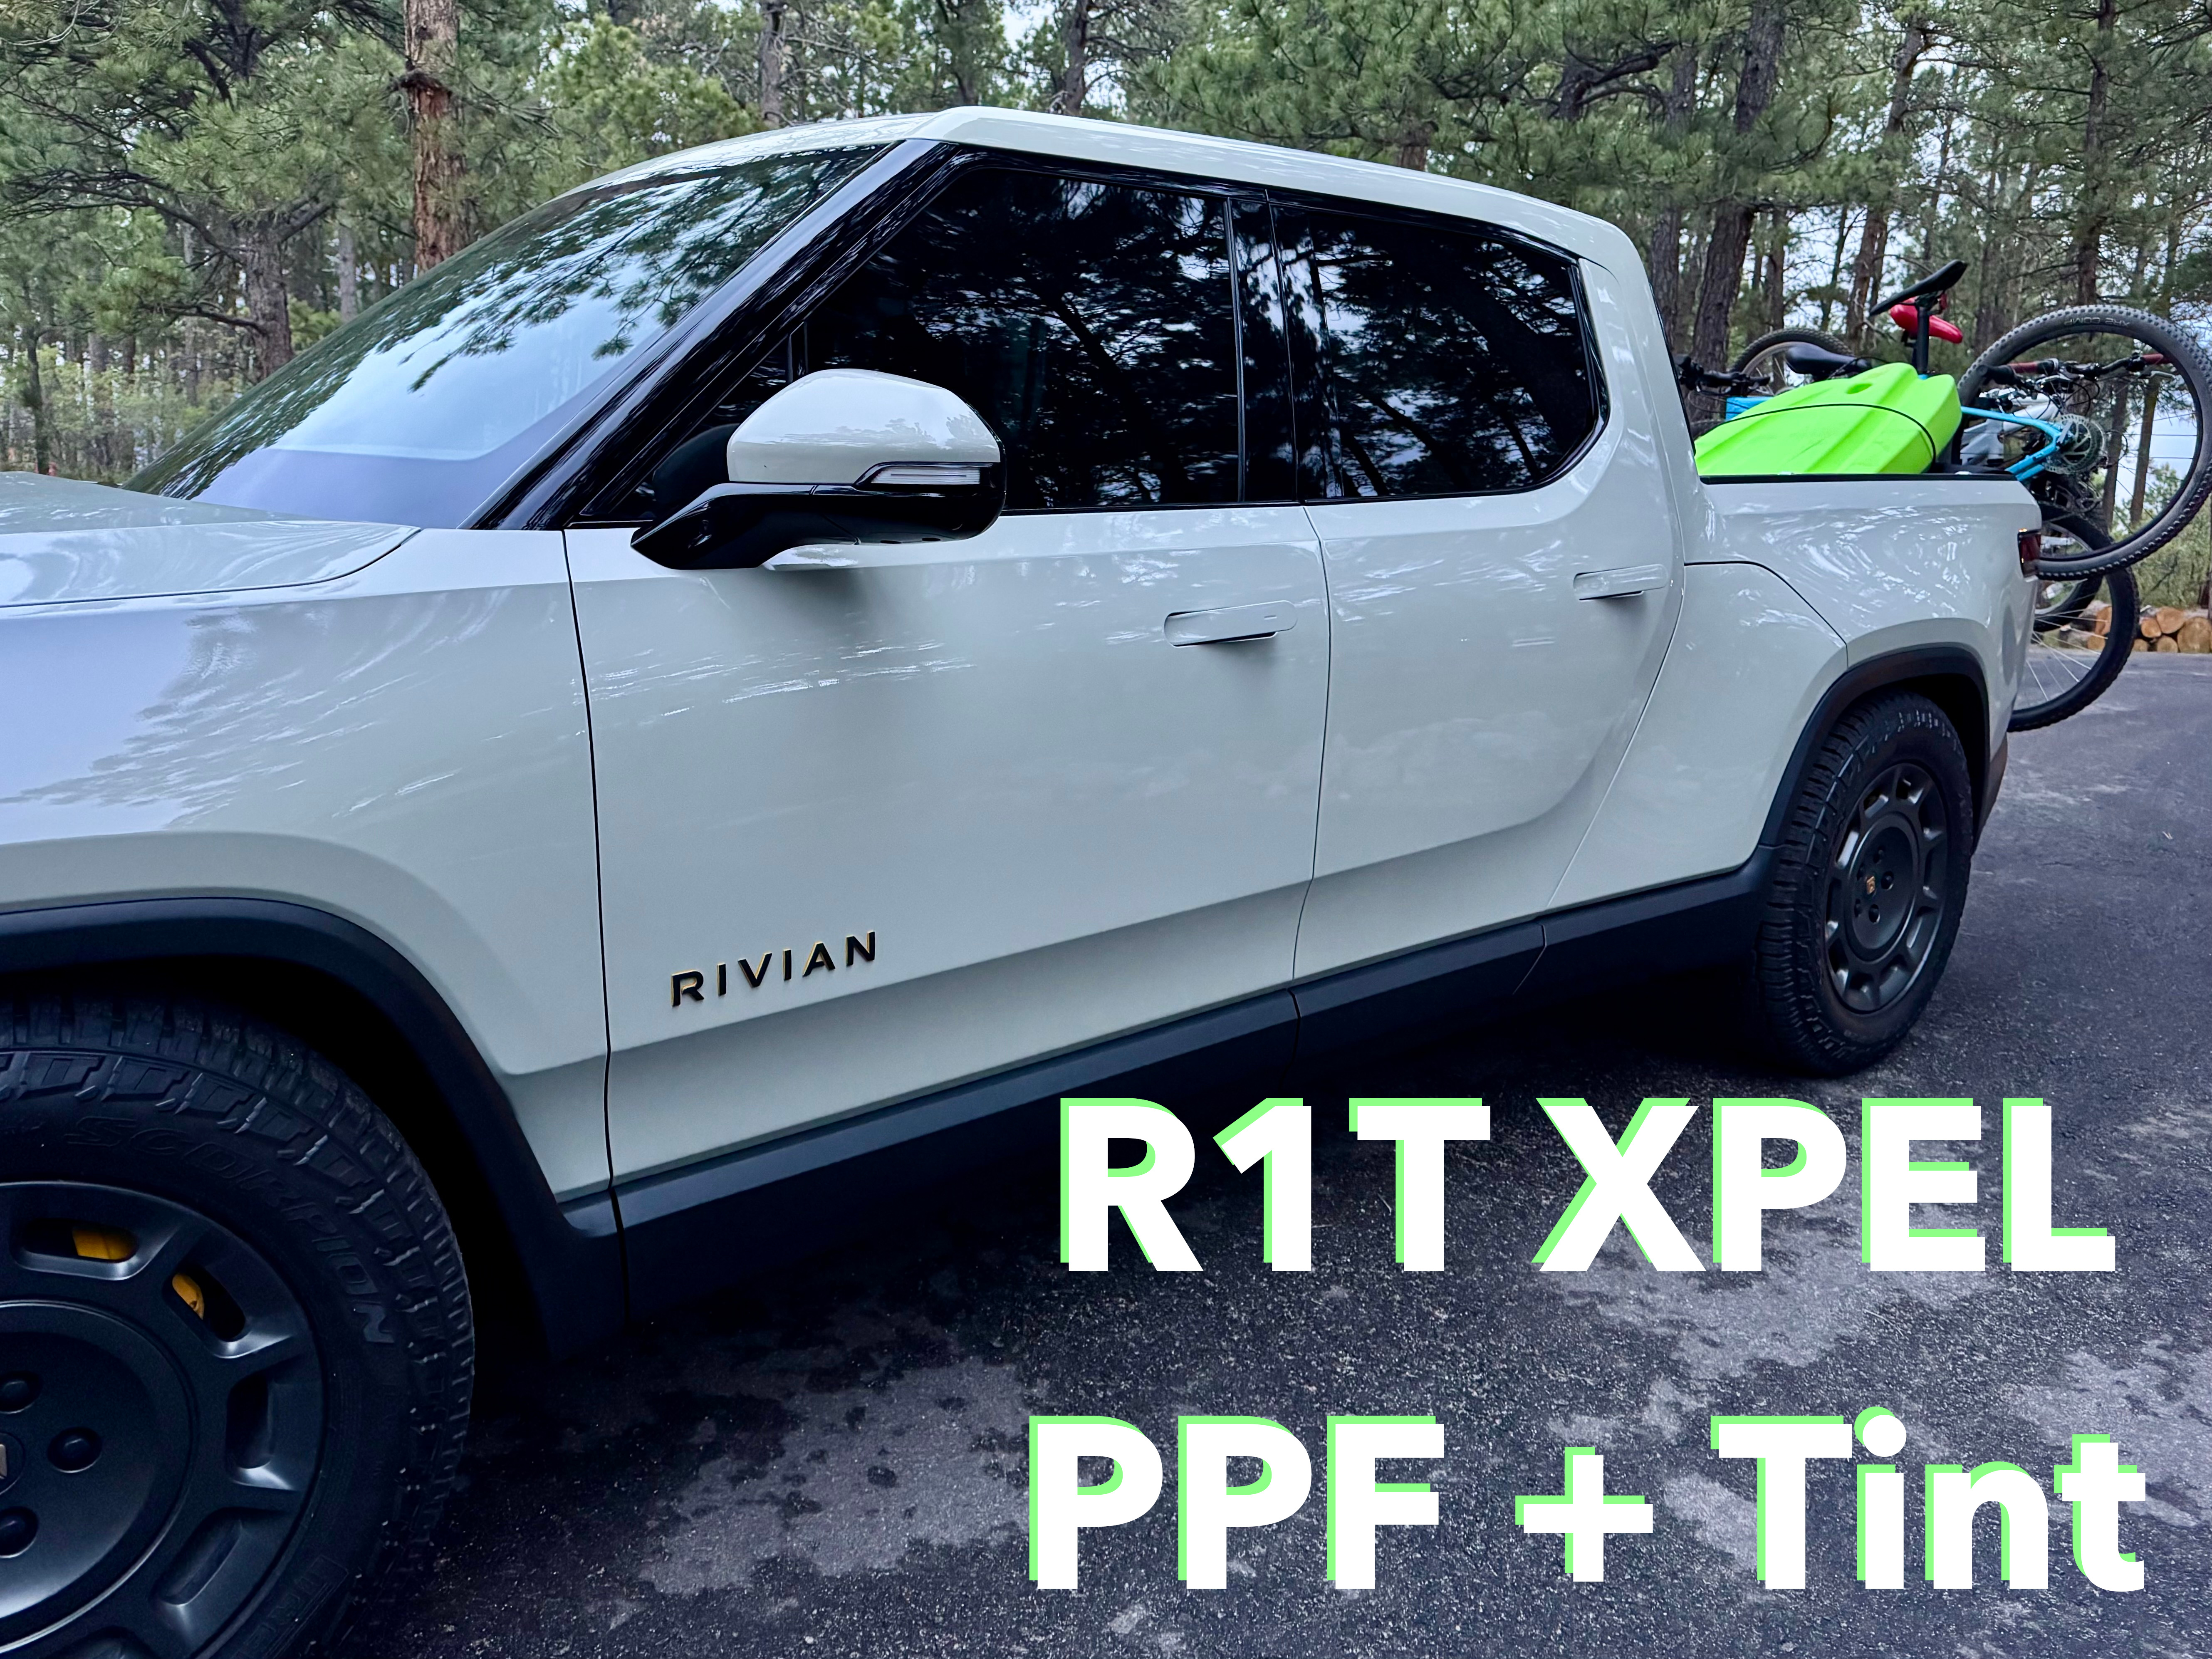
I shared a photo of my Rivian R1T California Dune’s recent tint work on the front windows and was asked about some of the details. I thought I’d break down the process and cost for anyone interested in doing something similar. My receipt scans are below!
Dune looking good with the front windows tinted pic.twitter.com/Nv75hLKu94
— thatvirtualboy (@thatvirtualboy) May 24, 2025
Choosing XPEL
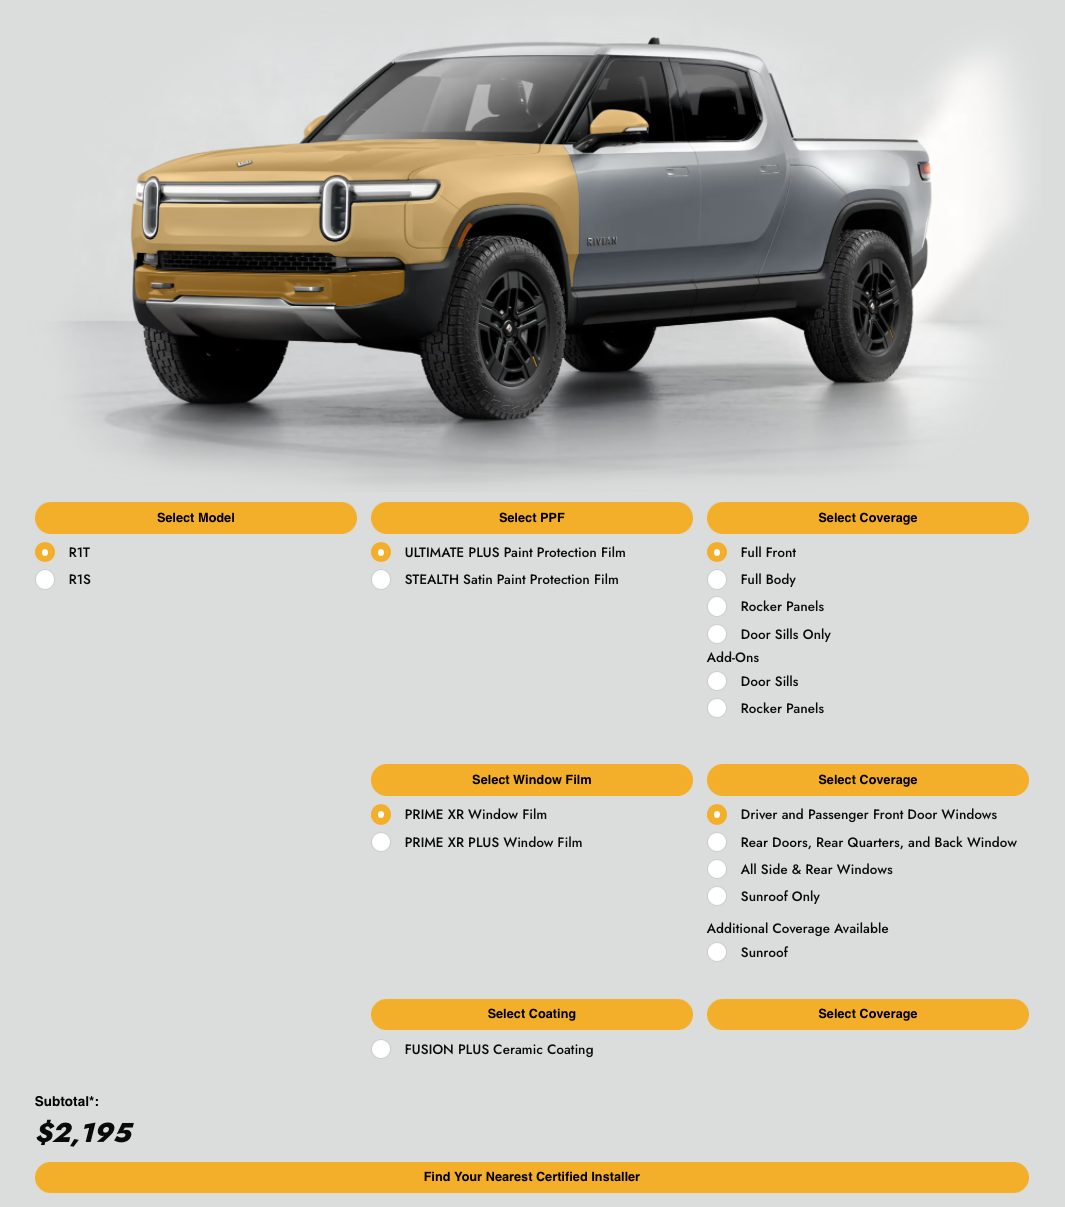
I started by following the Rivian x XPEL link in the Rivian Gear Shop. This took me to the XPEL site where I could select my desired product and coverage. Using their configurator, I chose the Ultimate Plus PPF on the Full Front and Prime XR Tint for the driver and passenger front windows. The total in the tool shows $2,195 – which is really quite close to what I anticipated the cost to be. Just look at all that coverage!
With this number in mind, I called a local shop I’ve used before to get a quote for essentially the same configuration, but this shop didn’t use XPEL. To my surprise, their quote was over $3000! 🥵
Without any hesitation, I looked up the nearest XPEL shop which was about an hour’s drive away from me. After sharing with them I called due to their partnership with Rivian for work on the R1T, they gave me a quote for the same options I spec’d out on the XPEL website. Of course I anticipated their quote to match the website and was pleasantly surprised by their number: $1874
I thought that even if they jacked up the price to what I saw using the online tool, at least it was significantly less than the $3000 quote I got.
Tint
At the shop we confirmed the options and tinting. We landed on 20% tint for the front windows, as that level would best match the factory tint on the R1T.
I didn’t get any other windows darkened or UV film applied, just a simple matching of the front to everything else.
PPF
This shop told me that the Rivian PPF can be applied 1 of 2 ways: using Rivian’s pre-cut sheets which tend to cover the body panels up to the edges, or using their method of larger full sheets that get fully wrapped around each edge for maximum protection.
The Rivian sheets were cheaper since it’s ultimately less material, and less laborious to apply and that’s what I ended up going with.
The interesting thing is the sheet used on the hood actually does wrap around all edges - the ENTIRE thing is covered with the Full Front option which is just so awesome. So many other companies just do a third or half of the hood. I feel pretty good knowing the hood is 100% protected.
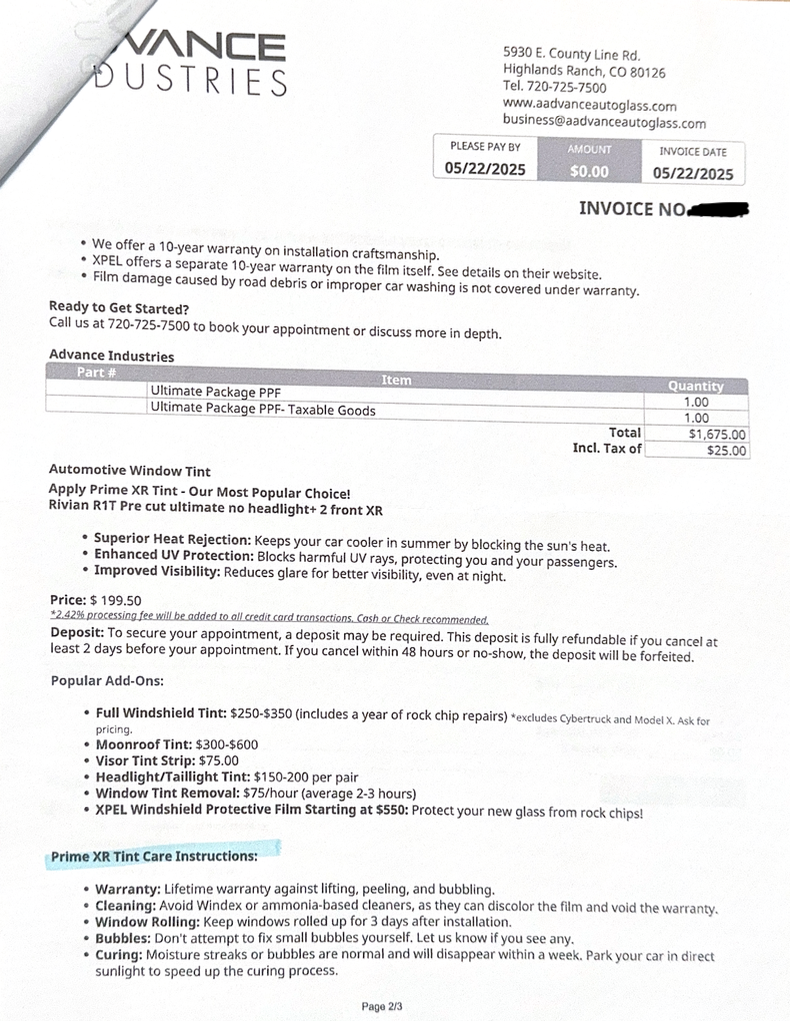
Paperwork + Final Numbers
In case you’re interested, below is the receipt for the work completed. The total ended up exactly at $1874 + tip. Overall I would certainly recommend the XPEL product – it’s already proven useful here in the Rockies! And if you’re in the Colorado area, I would highly recommend Advance Industries - they were really great to work with! Thanks for reading!


Get $500 of Rivian credit! Use code RYAN4190772 when ordering your new Rivian.