Remember Arcades? They were these massive buildings filled with mystery and wonder where games, lights, and sounds would expand as far as the eye could see. Sadly, they’re also nesting grounds for germs, grime, and bratty kids.
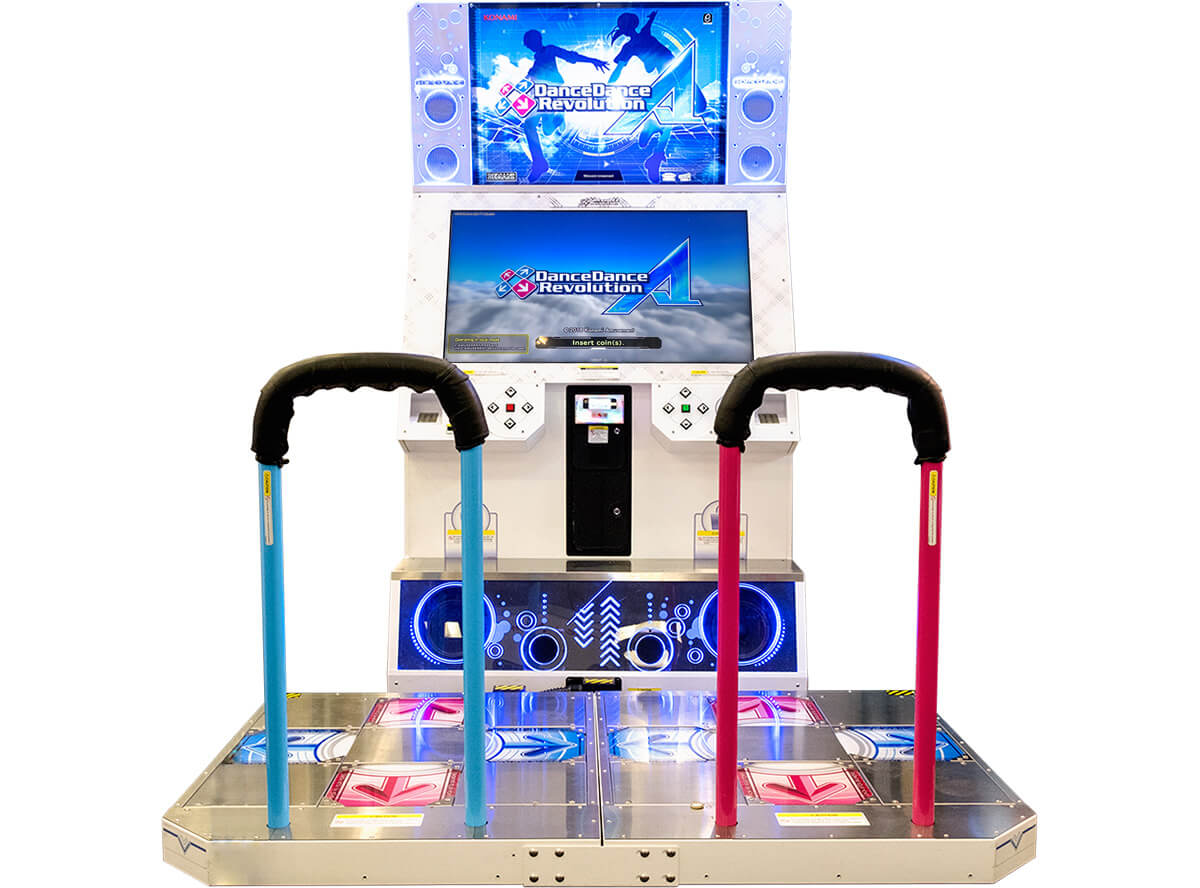
You probably remember seeing these Dance Dance Revolution (DDR) machines at the arcade back in the early 2000s. They were so popular, you could even buy DDR with pads for systems like the XBOX 360.
With all of us looking for additional activities to do in the home, especially with Winter fast approaching, a home DDR system is a fun and active game that the whole family can get in on.
Unless you have legacy systems like the XBOX 360, you’ll be hard pressed to find a current DDR game with functional DDR Dance Pads for a plug and play setup in the home. Luckily, there’s an open source solution that with just a little bit of elbow grease, starts as a fun project and ends with a fully functional home based DDR!
Enter StepMania

StepMania is an independent, cross-platform open source project that’s not affiliated with the original makers of DDR. It works on Windows, macOS, and Linux, and is fully customizable. It even works for building a full on arcade cabinet!
StepMania on Github
StepMania on Wikipedia
StepMania on Reddit
Building on RaspberryPi
I chose to build StepMania on an RPi 4B 8GB for several reasons, but the primary reasons are: small physical footprint and simplicity of installation.
Parts list
Here’s everything I purchased in order to get this built out on an RPi to be used on a Television. Keep in mind you could change any or all of these components based on your needs. Also, I’m not an Amazon affiliate so I get no sort of kickback for using these links:
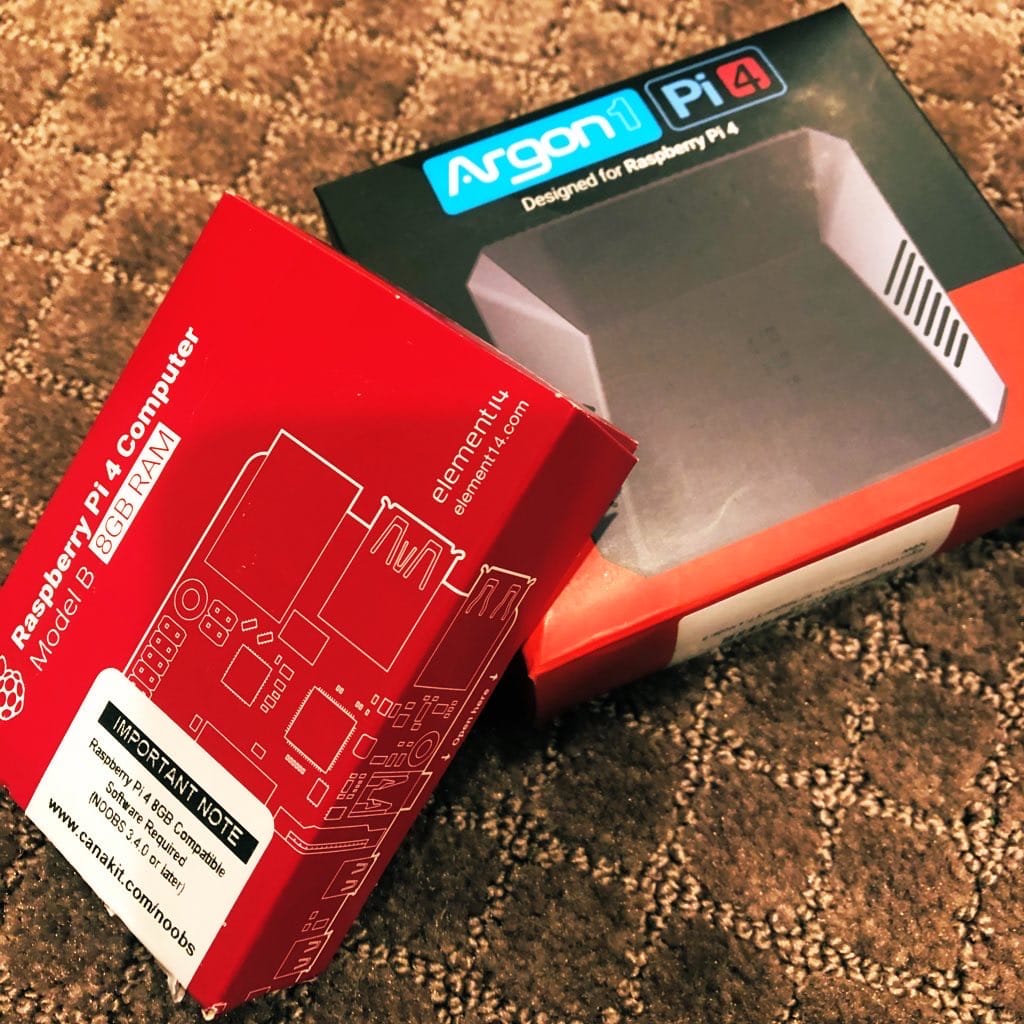
- RaspberryPi 4B 8GB running RaspberryPi OS (I’m using the 32bit version for now)
- 128 MicroSD Card
- Argon1 Pi 4 Case
- Micro HDMI to HDMI cable
- Ugreen USB Sound Card Adapter
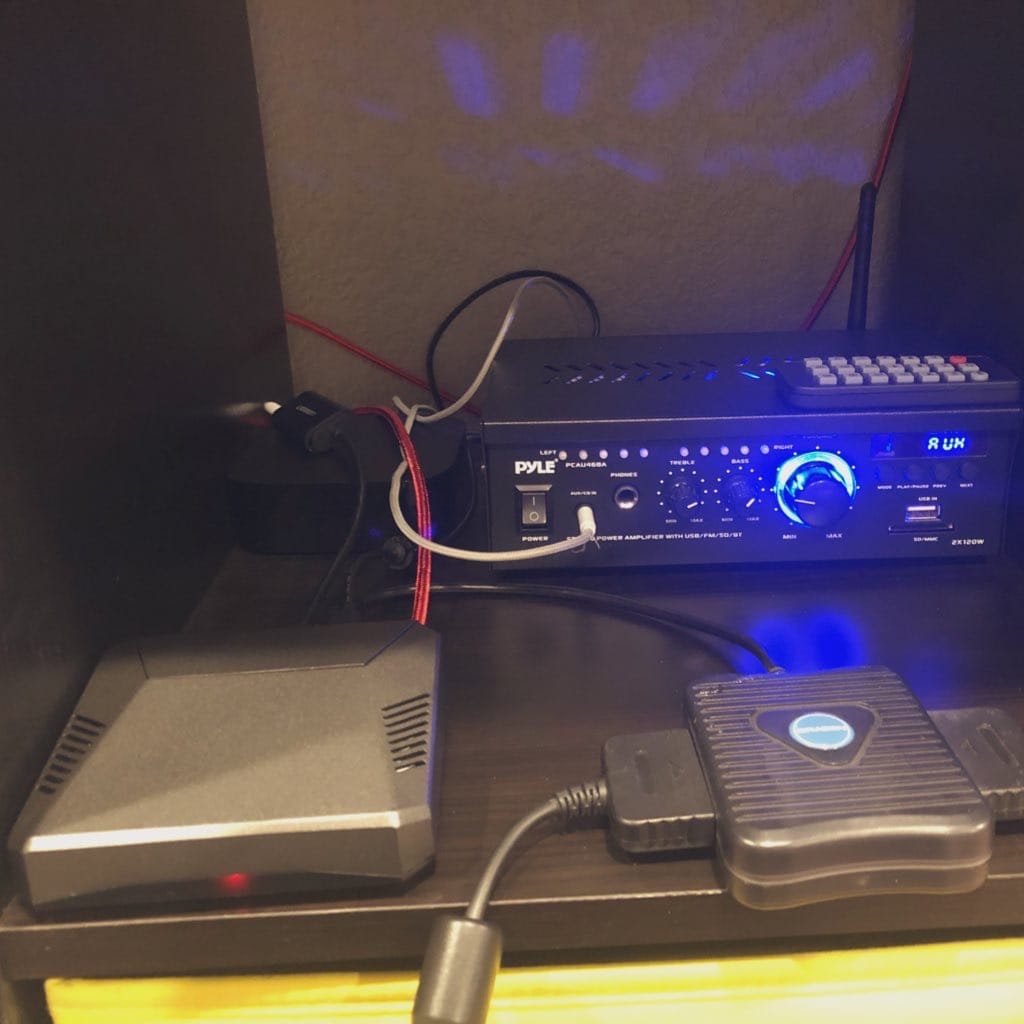
- 3.5mm male-to-male Audio Cable - NOTE: this goes FROM the Pi TO your Audio system, whether that’s directly into your TV or something else. I have mine going to a Pyle Amplifier
- Dance pads - NOTE: the pads I have were originally bought around 2007 and use a PS2 to USB adapter. If I didn’t already have these, I would have purchased from this link.
- StepMania Arcade on RaspberryPi software
Quick note on the RaspberryPi Case
The reason for going with the Argon1 Pi 4 case wasn’t just because it’s one of the best looking RaspberryPi cases available, but it has several features making it an extremely user-friendly case:
- Re-routed ports to the back of the unit (helps create some serious eye candy on your media center)
- Passive and Active cooling built in (needed for our overlocked RPi)
- Graceful-shutdown option with the built in power button (No keyboard and mouse needed for power operations)
Getting the software
Matthias Rozensztok put together a nifty script (linked above) for dramatically simplifying the configuration of StepMania on RaspberryPi. Not only does his script automatically configure things like auto-start StepMania at boot and configure safe overclock levels (among tons of other great things), it also helps configure the default audio device to USB Audio.
Putting it all together
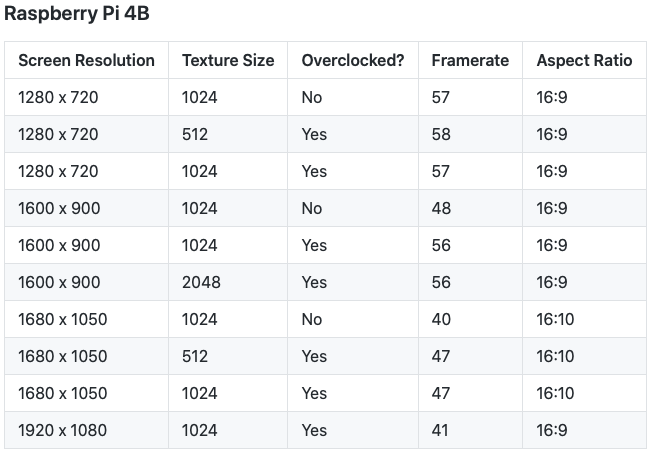
After you’ve installed RaspberryPi OS and built out the Argon case, it’s a quick sprint to the end by following the installation instructions from Matthias’s script above. As a baseline on my Pi 4B, I used the default overclock scripts provided in the install instructions. Since I’m only outputting to a 720p Television, I’m getting near 60 FPS with amazing performance and sound. In fact, the Argon’s built in fan hasn’t even needed to kick on during gameplay. Keep in mind your mileage may vary depending on many factors, including your target resolution. Be sure to review Matthias’s documented FPS you can expect when using the Pi 4B:

Happy Dancing!