In developing Artbox 2, one thing I set out to accomplish was making the user experience more immersive and personable. One of the ways to achieve this is to add haptic feedback. Haptics are the vibration responses to the user interacting with the application. When you’re buying something with Apple Pay, scrolling through a picker, or receiving confirmations and alerts - haptics are widely used in mobile apps and can greatly enhance the user experience.
You can read more about haptics at Docs.
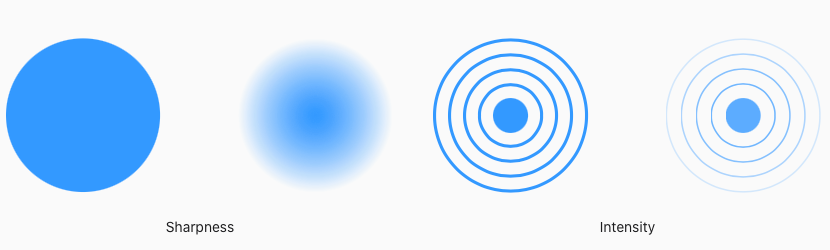
SwiftUI, Apple’s newest coding language, includes certain haptics by default. The most notable example being the Toggle. These toggles are found all over the iPhone’s Settings app. Notice when you enable or disable a toggle, there’s a subtle vibration that gives you the sensation of really interacting with the software. You likely have even noticed variations of these haptics throughout iOS and across different applications and scenarios. These are due to the custom Sharpness and Intensity
Adding Haptics to your app
Adding haptics into your SwiftUI app is a simple task that gives your users that premium experience.
By simply declaring the UINotificationFeedbackGenerator in your Views, you can call multiple types of haptic alerts.
let haptic = UINotificationFeedbackGenerator()
Now let’s say you want to have a custom, subtle vibration occur when an error is triggered in your app. Simply add the below line to your action:
self.haptic.notificationOccurred(.error)
Here’s an example:
1
2
3
4
if userText == ""  {
    print("Error - Text cannot be blank")
    isErrorPresented = true
    self.haptic.notificationOccurred(.error)
The .error is built into the UINotificationFeedbackGenerator class so it does not need to be defined manually.
There are more options in addition to .error such as
.warning
.success
.light
.medium
.heavy
Go ahead and play around with these to get a feeling for where they might be applicable to your app. Obviously you’ll need a physical device to test as haptics can’t be tested in the Xcode Simulator.
Apple’s Documentation warns against over-doing haptics, so you’ll want to use them sparingly. Take time to explore your app’s interface and apply haptics where it makes the most sense.
Summary
In this post you learned about UINotificationFeedbackGenerator and how adding different styled haptic feedback operations can greatly improve your SwiftUI app.
I hope you found this post useful. Thanks for stopping by!